0
Hello everyone. Since this is the first post, I’ve decided to describe in brief how I take pictures with pinholes.
There is a “standard” process that you can follow, however everybody will develop their own, especially considering how the process can influence the final result, so I would recommend to try different methods to find the one that works best for you and -with experience- adapt it to your personal style.
So, back to how I do it!
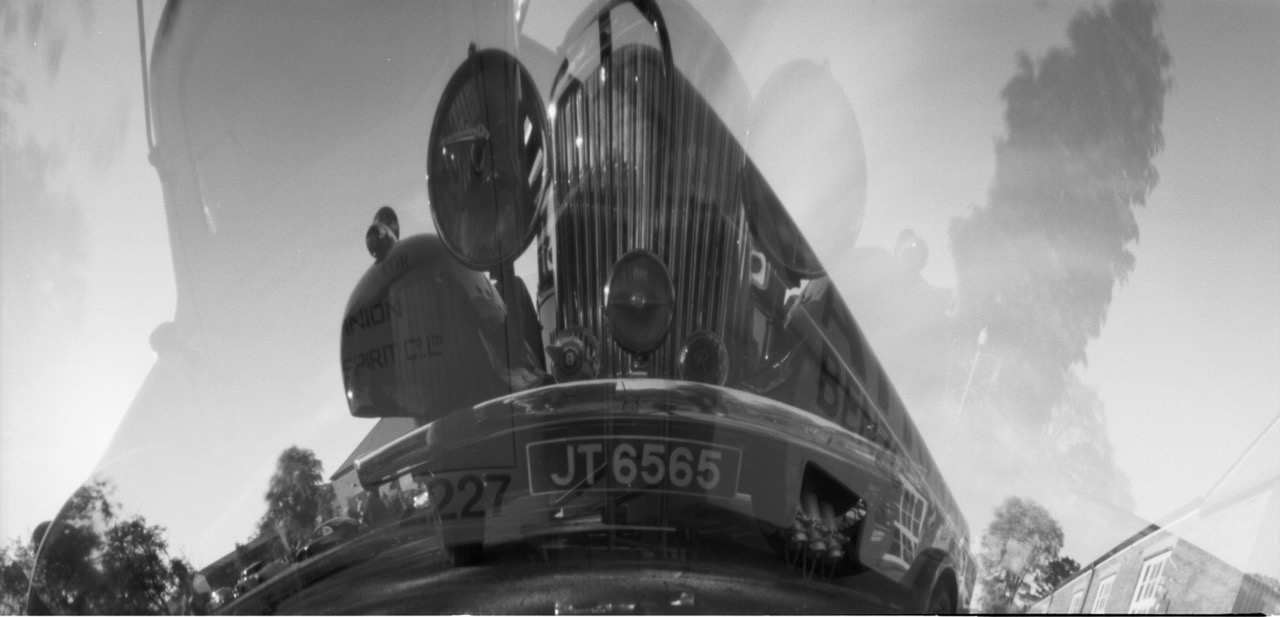
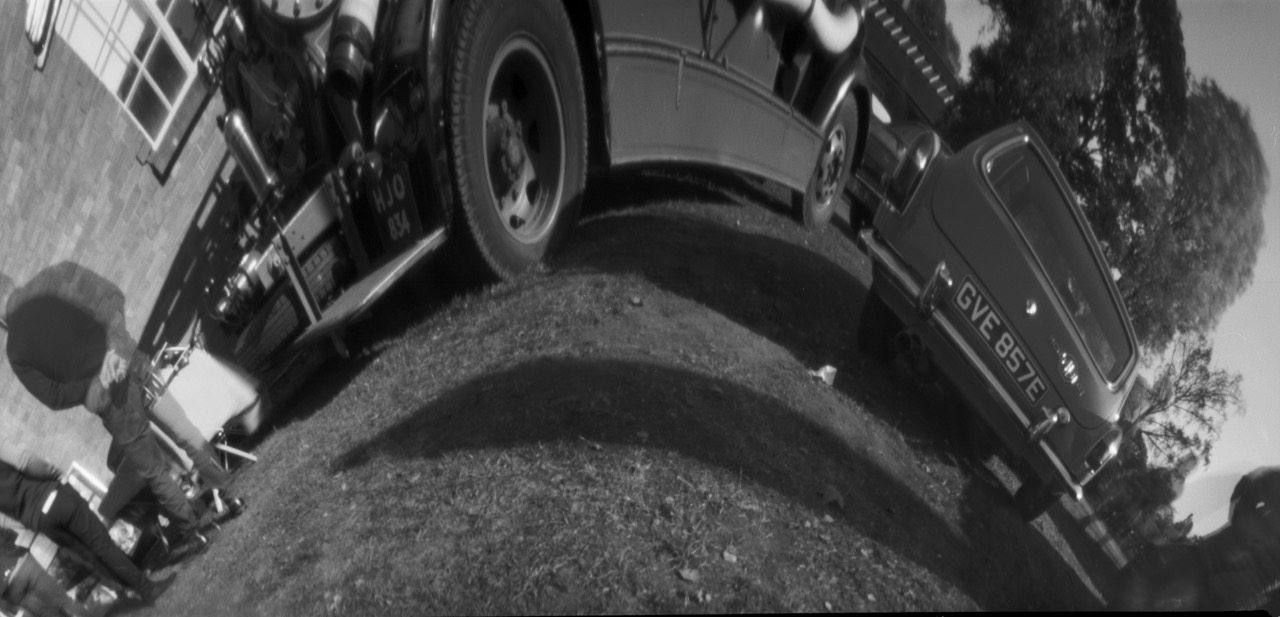 MIA anamorphic 6×12
Adjusting the camera
With pinholes you can get very interesting compositions which are quite challenging (if not impossible) to get with more conventional lens cameras.
The camera has to be secured on something stable (tripod, ground, fence etc.) or – if you want to obtain interesting images- it can be hand-held. For example, try to move the camera up/down or sideways, it will be like having brush strokes on the resulting image. Just be mindful that this is a more advanced technique, so you may want to try with the tripod first.
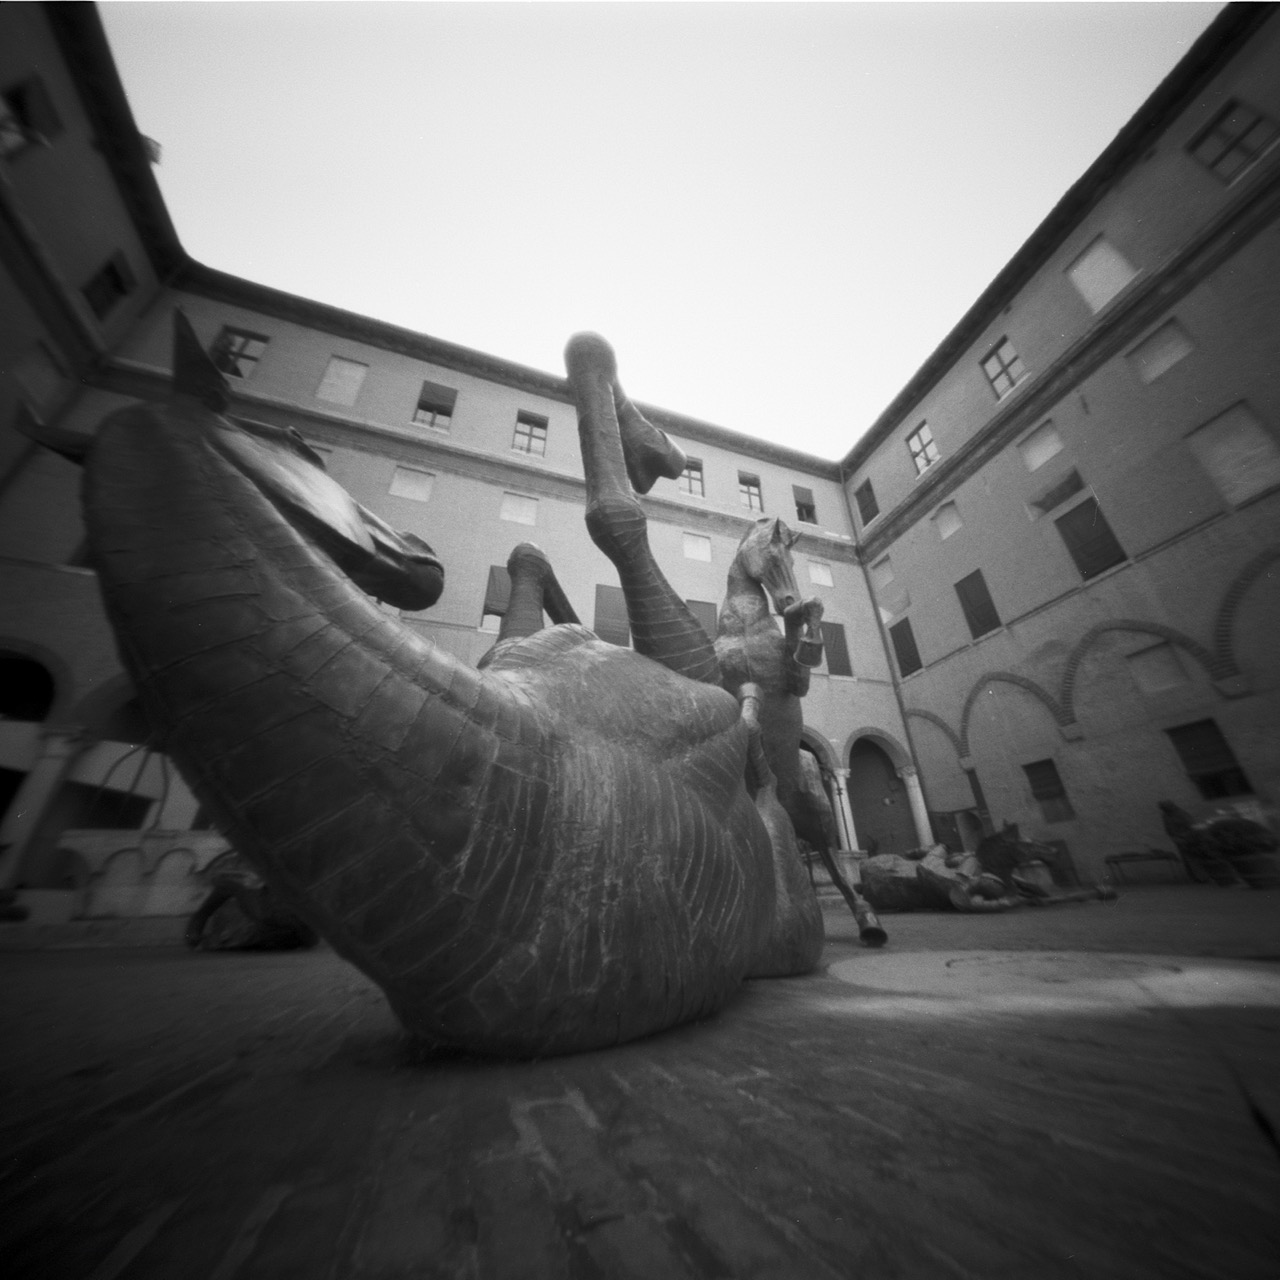
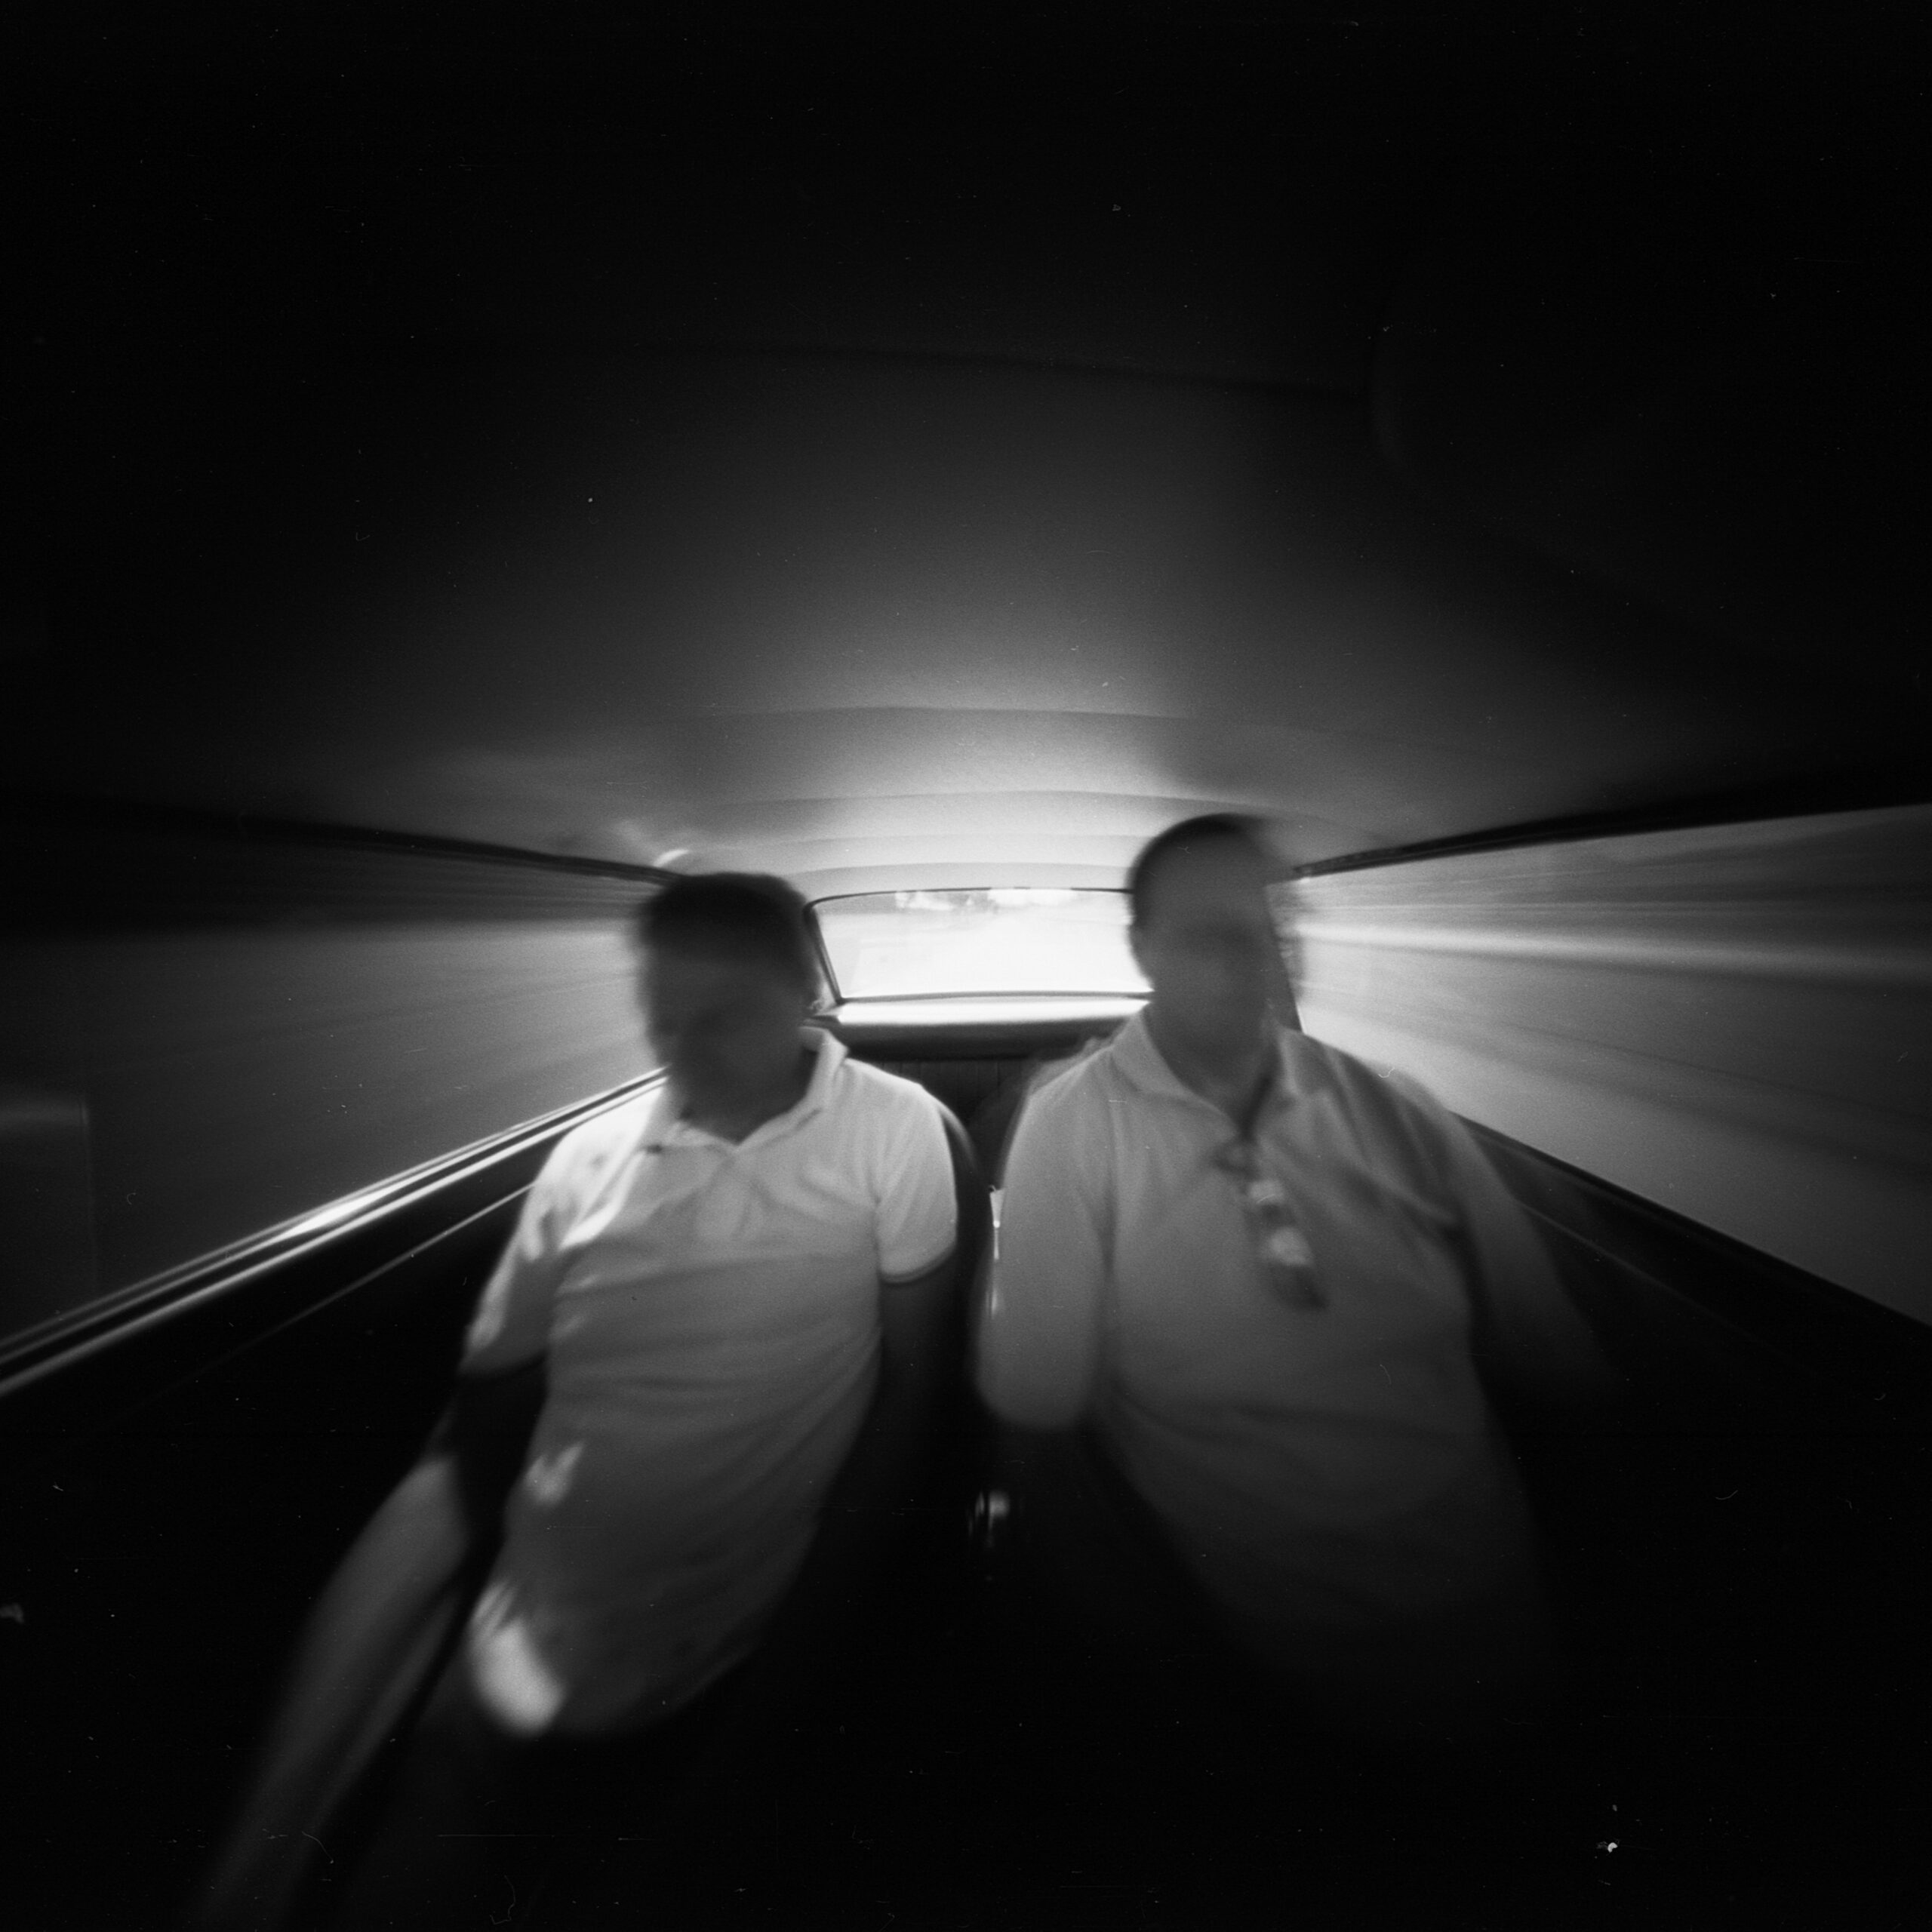 MIA 6×6 10mm FL
Metering the light
I use an app on my phone to meter the scenes. I am not sure which apps are out there for Android users, but i ha ve listed some iOs app below:
Lumu app it is a free light meter app, it works quite well and it is precise and versatile. Note that the max focal number used by this app is 64, so you can find the conversion tables for my cameras in the digital download section. It helps to convert the time reading into the correct exposure time for the camera in use.
Pinhole Meter it is a free app and it works quite well if you shoot paper, as it can be set for up to ISO 3 and the “f number” (focal) of the camera can be set exactly to the camera in use. It also has a timer. Very convenient.
Pinhole Assist it is a very good and complete app, however you have to pay for it. But I think it is really worth its price. You can set your own camera and film in the settings and use the app to do everything: you can meter the light, adjust the time for the reciprocity failure (and you can choose the film from an extensive list) and start the timer to take the shot. And you will find MIA cameras on the list! Finally, if you like to, you can take notes.
These apps are just some examples and the list is not comprehensive. I am sure there are many others. If you know any which are worth trying, perhaps you can let me know in the comments!
Metering the light is the first technical step of the process. It is very important because the final result of the image, depends on it. It is worth to remember that it is better to take an overexposed picture, rather than an underexposed, so if you are in doubt, just add a few seconds.
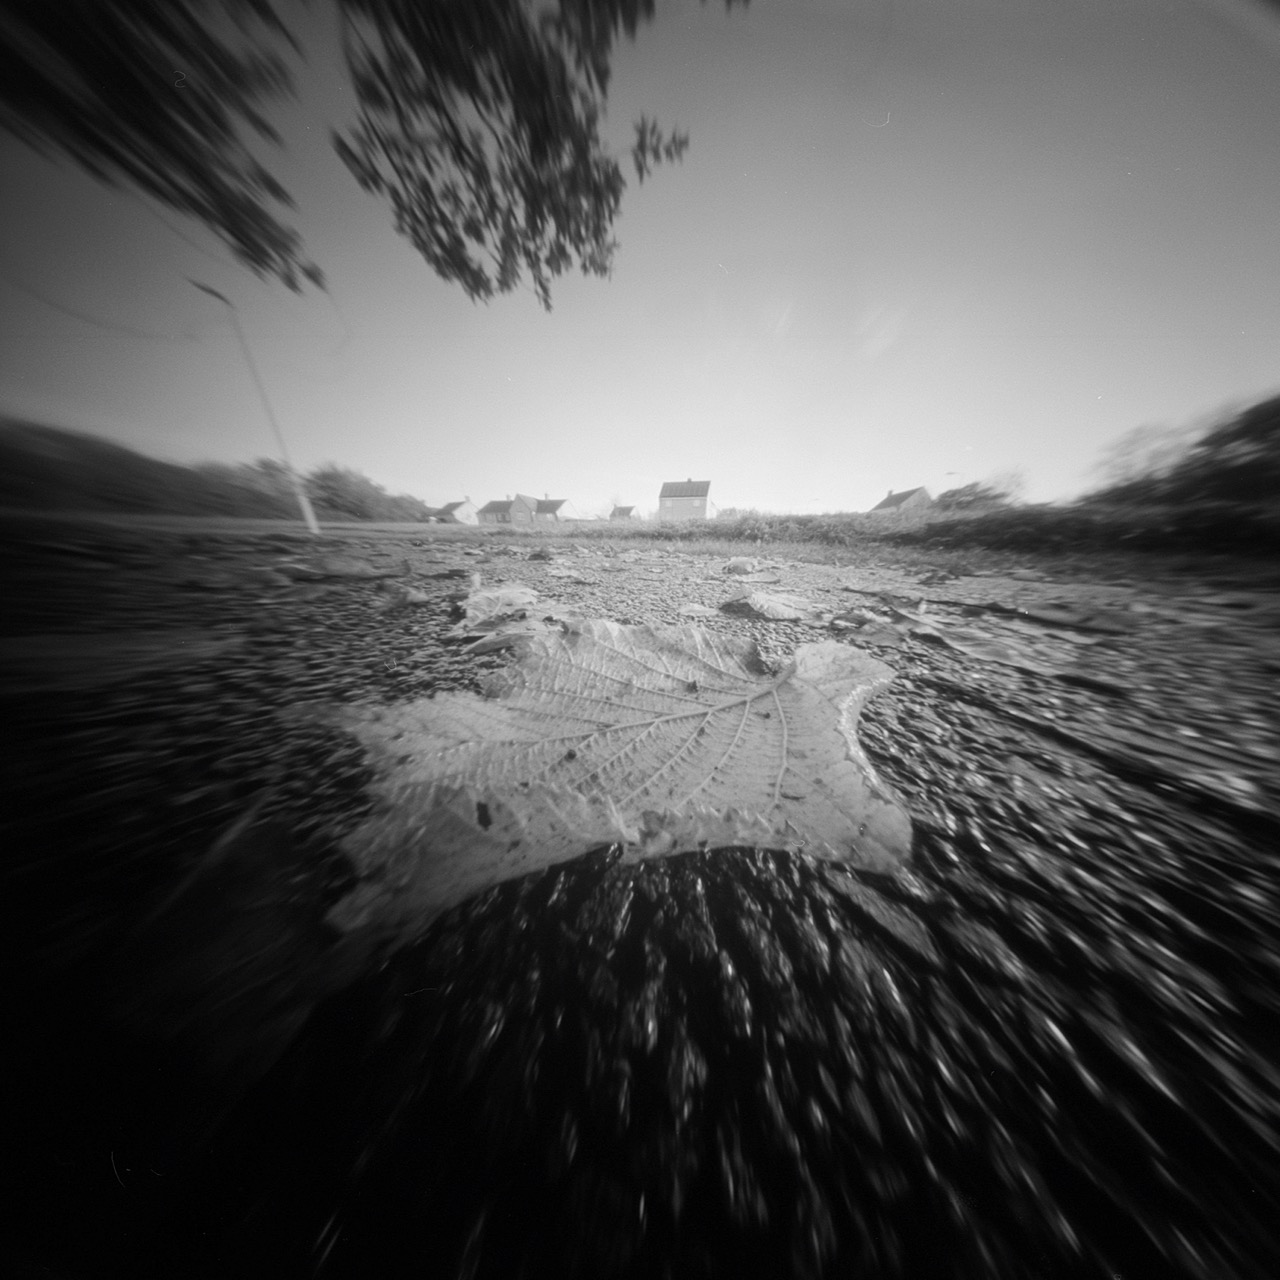
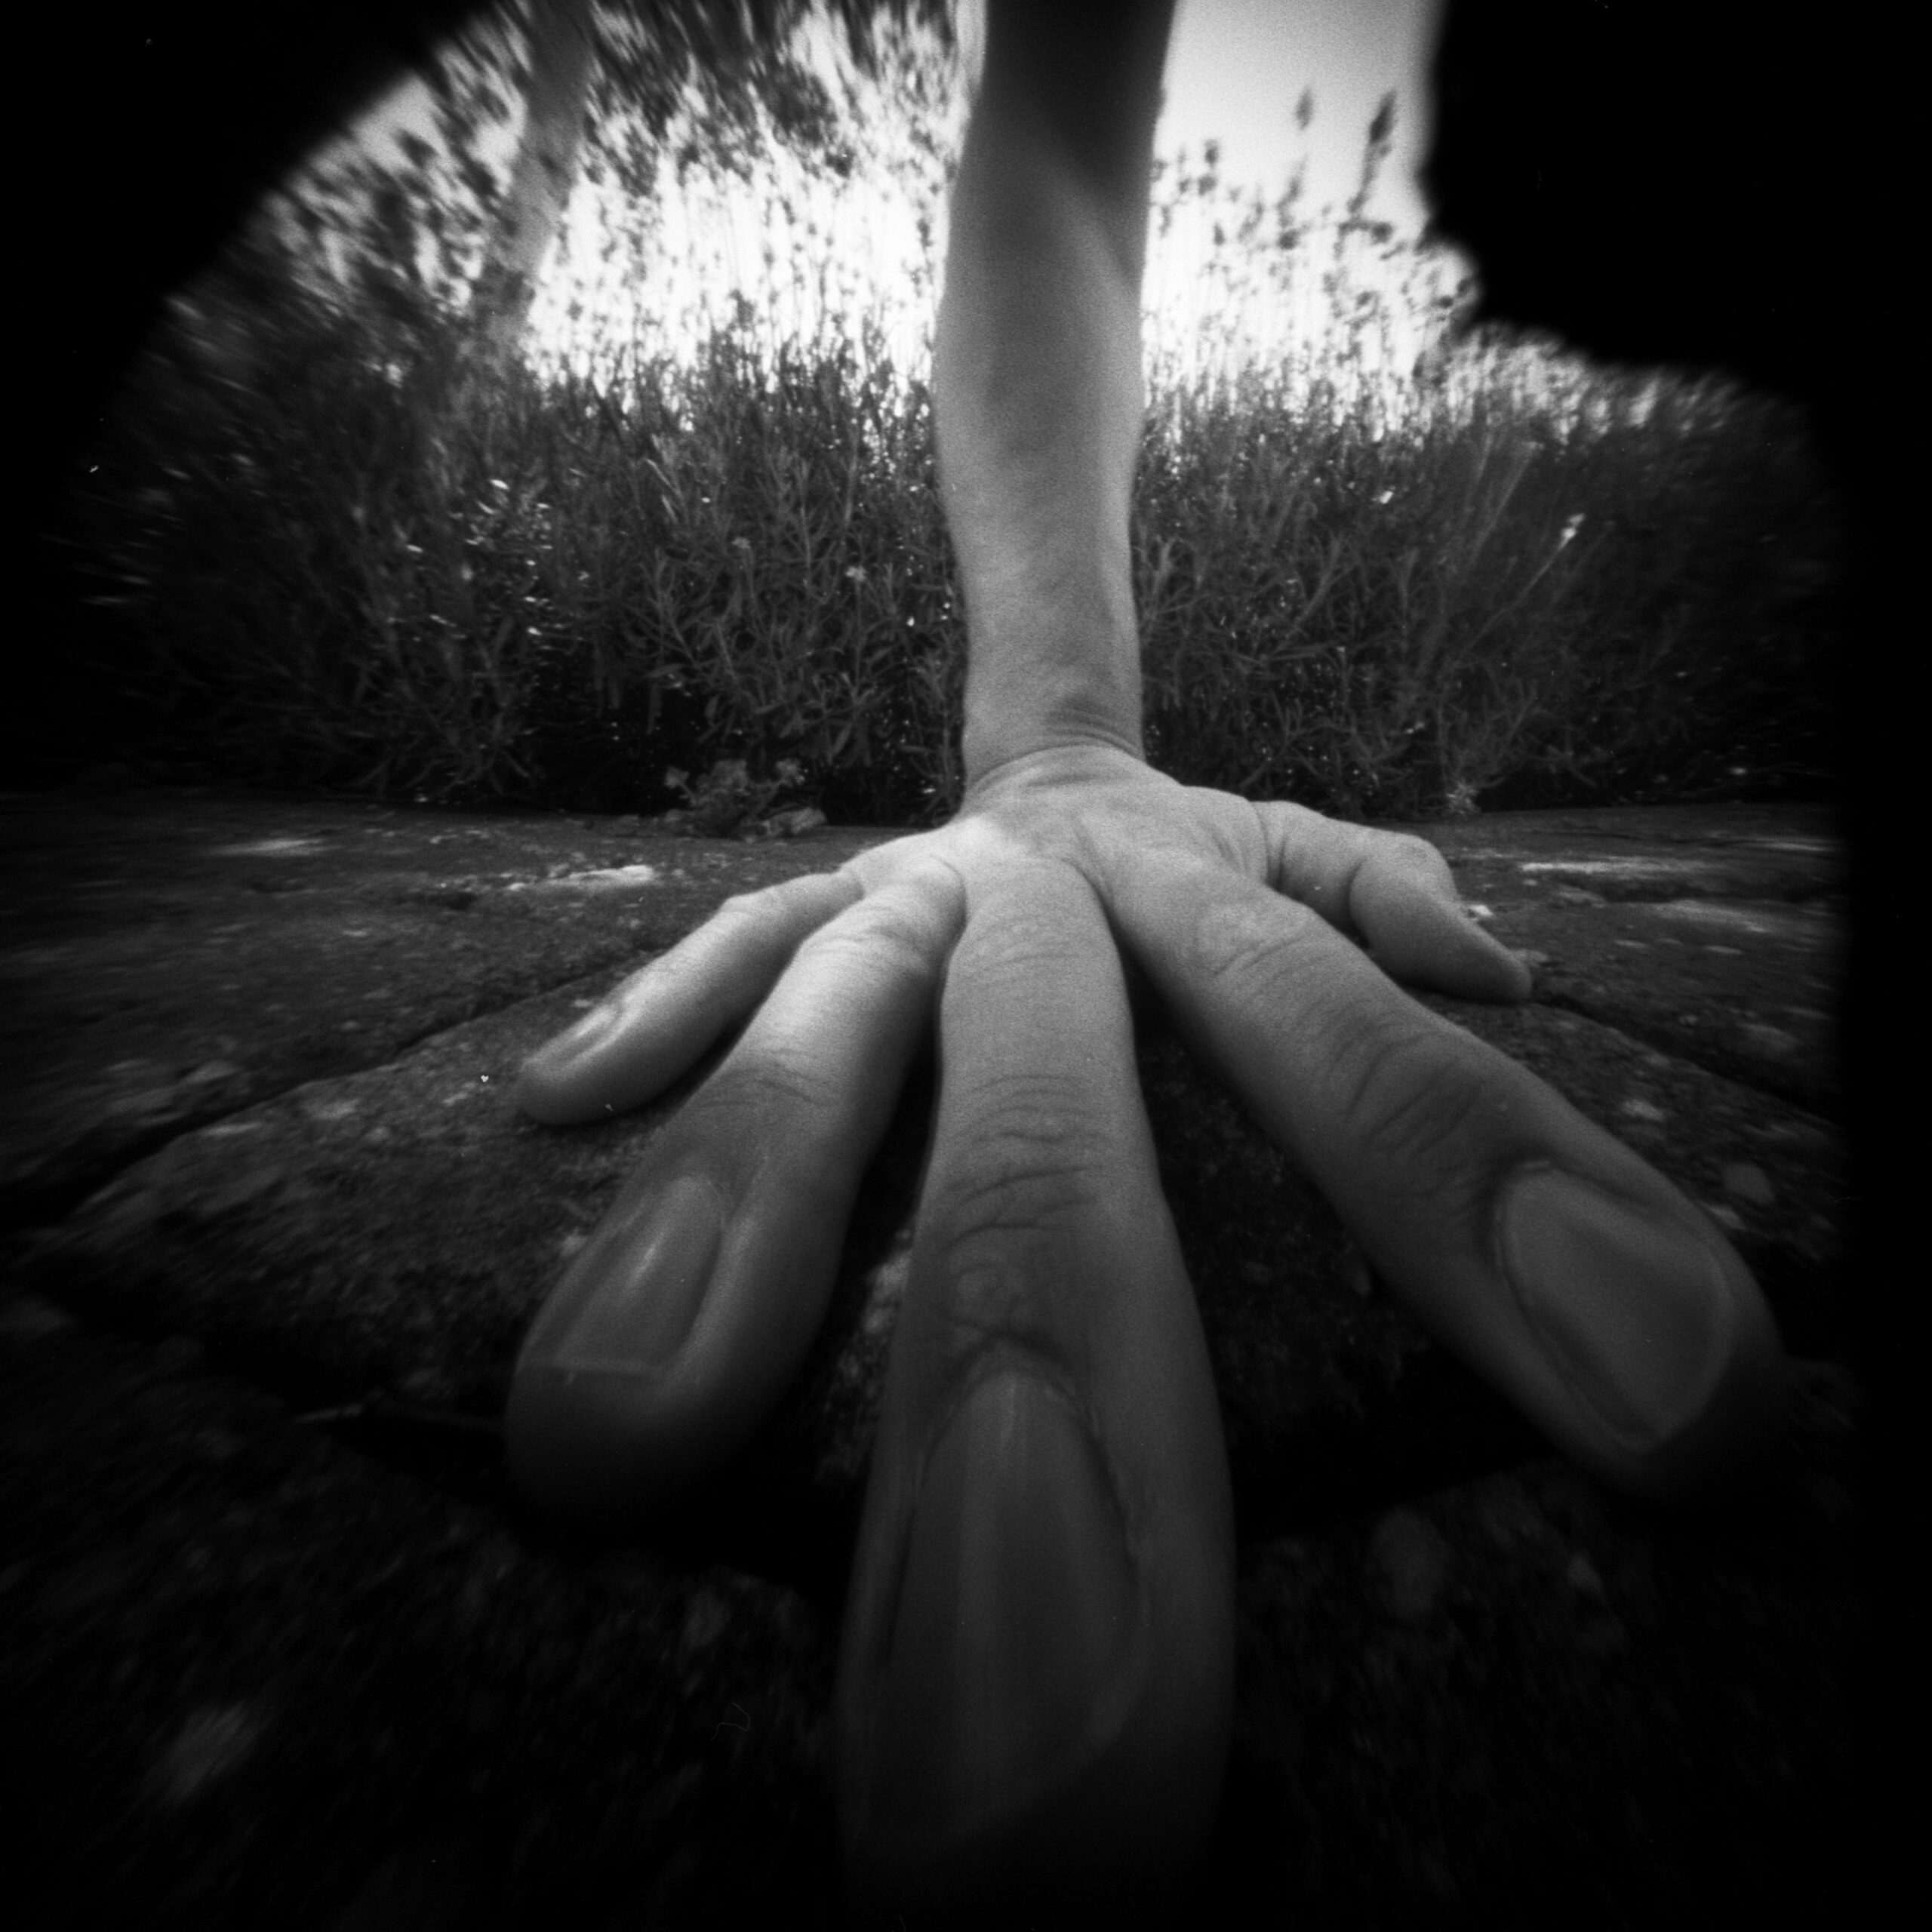 Some fun experimets with one of my prototypes
Conversion of the time
Once the light metering has been done, you will have to convert the reads to the focal of the camera in use (unless you are able to read the light at the correct focal).
For instance, if you are using a MIA 6×6 20mm, you already know it is an f137. Since many apps and lightmeter can read at max f22 or f64, I provide some tables to convert these readings to the focal of the camera.
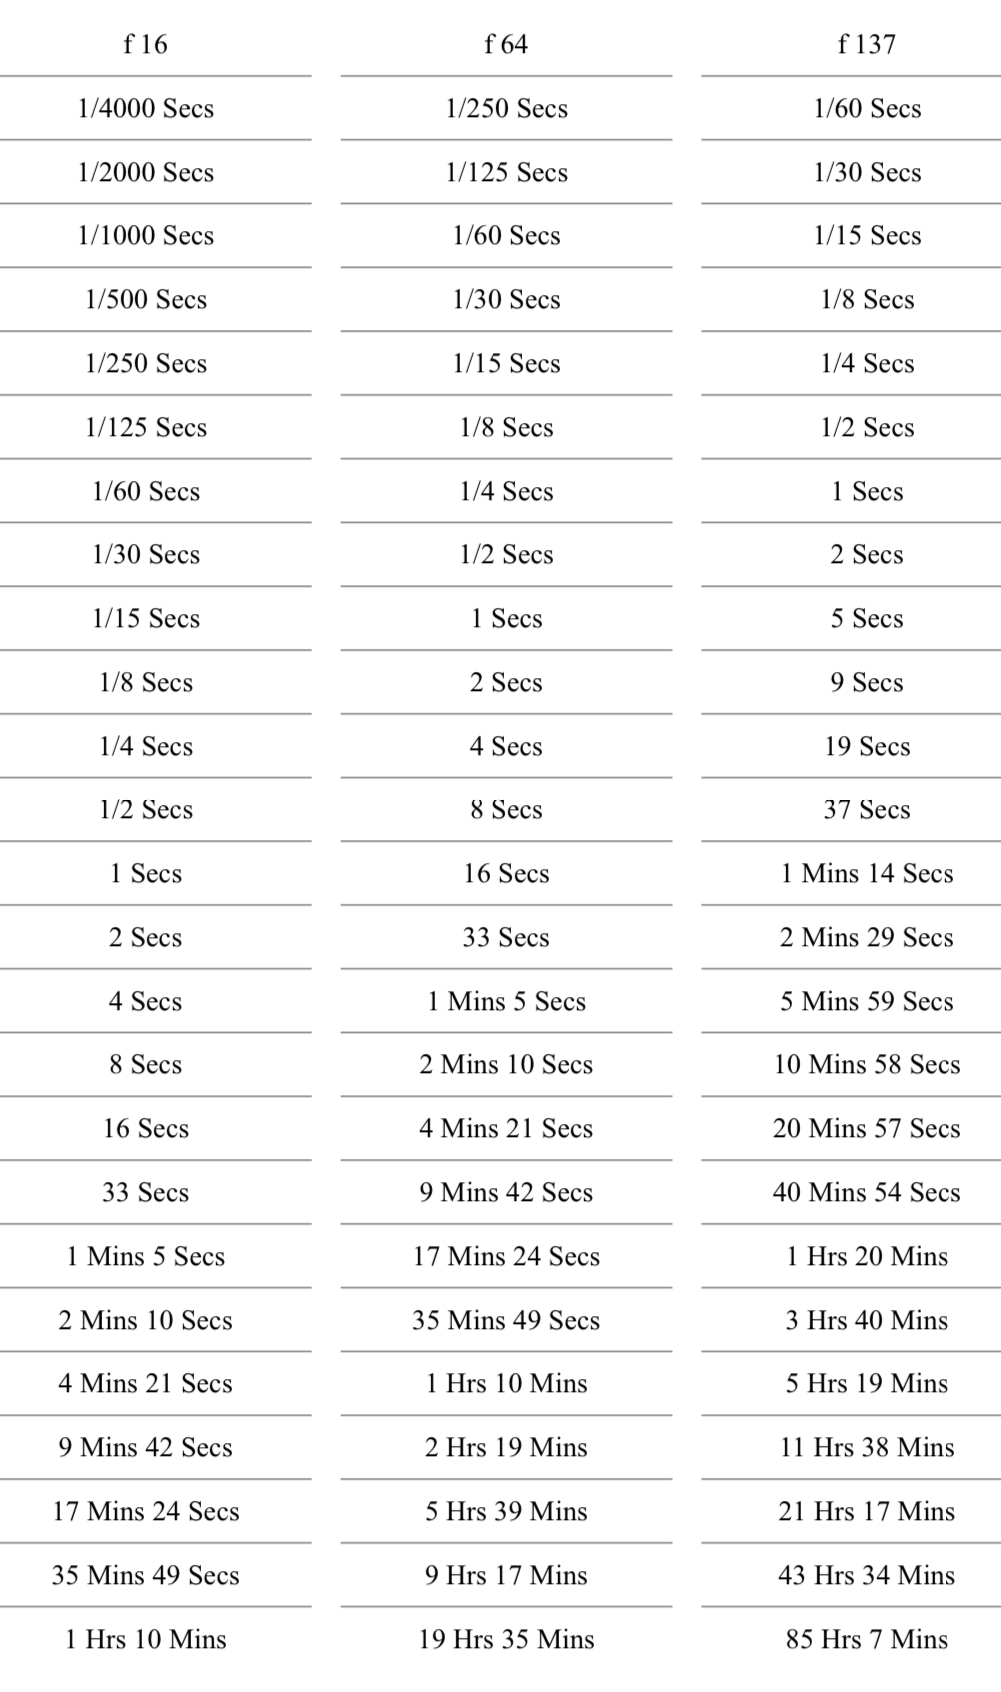 Conversion table times
Immagine the light meter gives a reading of 2 secs at f64, using the table above you know that the corresponding time at f137 is 9 secs. It is very easy to use and if you often use the same camera and same film, you won’t need to take the table with you all the time, since you’ll remember the settings.
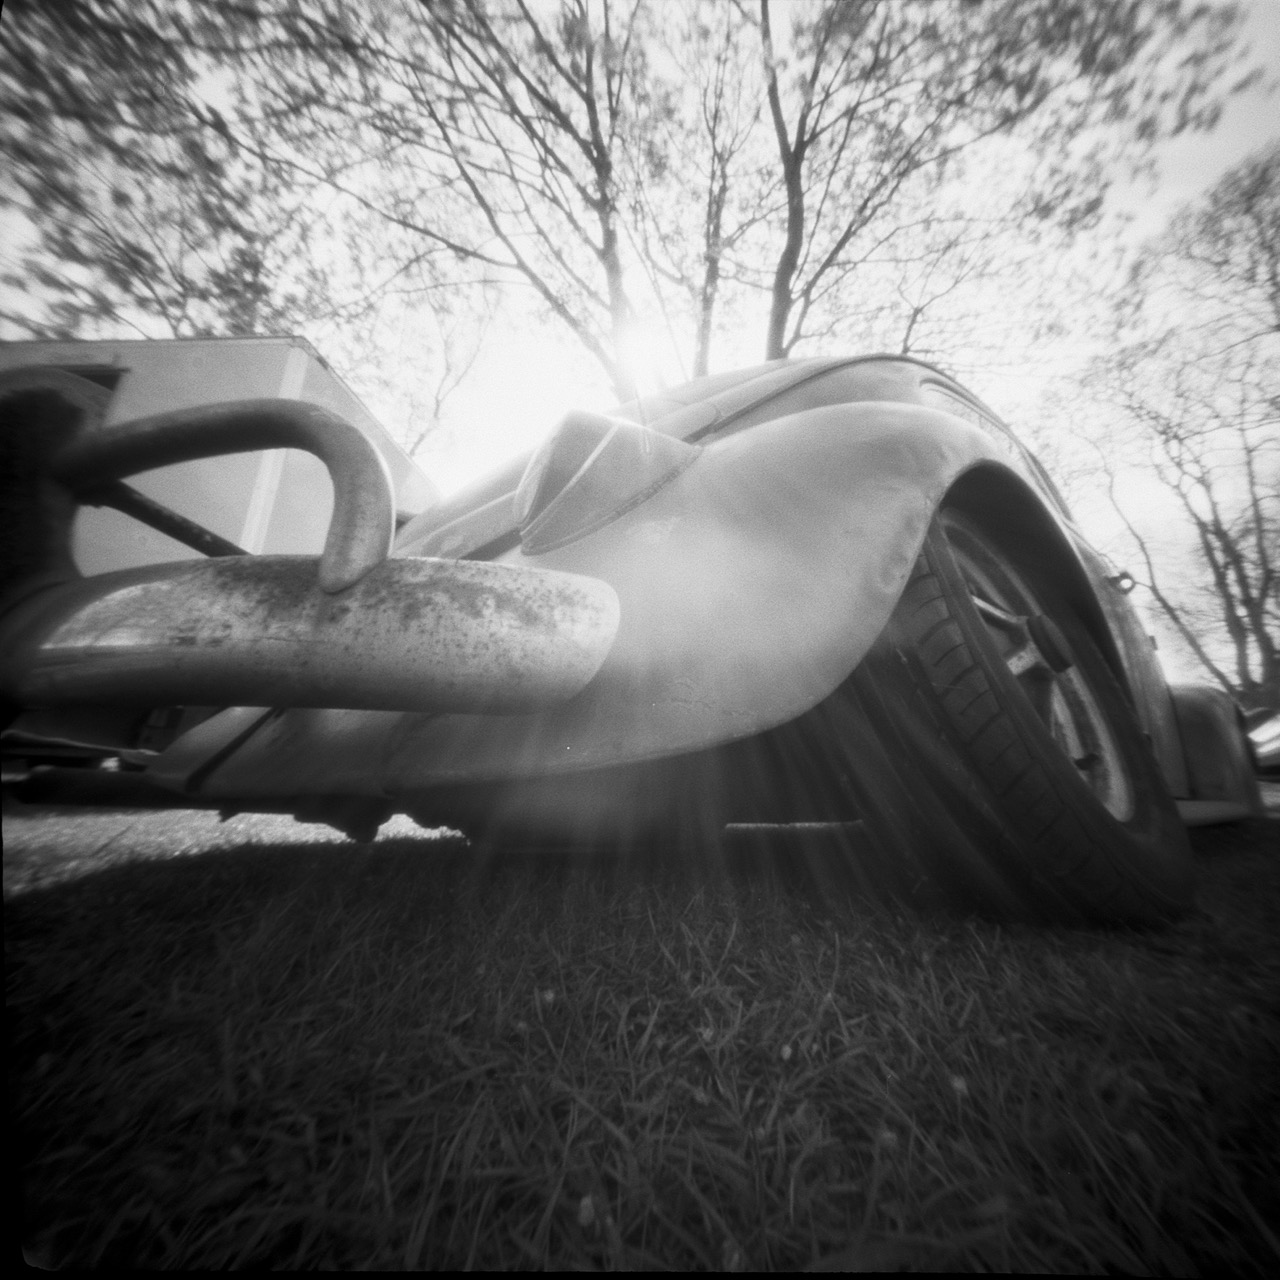
 Double exposure with the MIA anamorphic
Reciprocity failure
If you don’t want to get lost in the calculation of the reciprocity failure, there are three ways to deal with it.
1. You can just double the time you found in the previous step. It is not very accurate, but it works most of the times and as I mentioned previously, it is better to have a slightly overexposed picture rather than under exposed.
2. You can use the Fuji acros film (B&W): with this film there is no need to add time for reciprocity failure up to 2 minutes of exposure! Plenty of time if the day is sunny or overcast. Note that this is just an example of film but there are others on the market with the same characteristics.
3. You can use the Reciprocity Timer app where you can find the majority of film in commerce.
For instance, if you are using an Ilford Fp4 and you read a timing of 9 secs at f137, you need to expose for 13 secs, considering the reciprocity time for this film. Or if you are using the Fuji Across you need to expose for exactly 9 secs. With Fomapan 100 you need to expose for 56 secs.
You can find the reciprocity time factors on the film vendor website. In essence, before shooting, think carefully on the choice of film you want to use.
 MIA 6×6 20 mm
Take the photo
The main output of pinhole photography is a soft image: it will never be sharp as an image taken with a lens camera, so to avoid to add undesired imperfections to the photo (or at least to reduce it as much as possible), a steady camera is essential. This is how I deal with this:
1. You can use a shutter release cable, but not all cameras are equipped with it.
2. Or you can:
– cover the pinhole with a finger
– open the shutter
– remove your finger from the pinhole
– take the picture
repeat the same process backwards to close the shutter.
You will be surprised, with a small and precise pinhole and a well calibrated camera, the results you can obtain.
 MIA 6×6 10mm FL
To recap
1. Adjust the camera for the composition
2. Meter the light of the scene
3. If you did not meter for the focal of the camera in use, do the time conversion
4. Adjust the timing for the reciprocity failure
5. Take the photo!
I really hope this post will help you, if you are starting your journey with pinhole photography. Please get in touch if you need any further help and let me know if this guide has been helpful.
Happy shooting!
 MIA 6×6 20mm FL
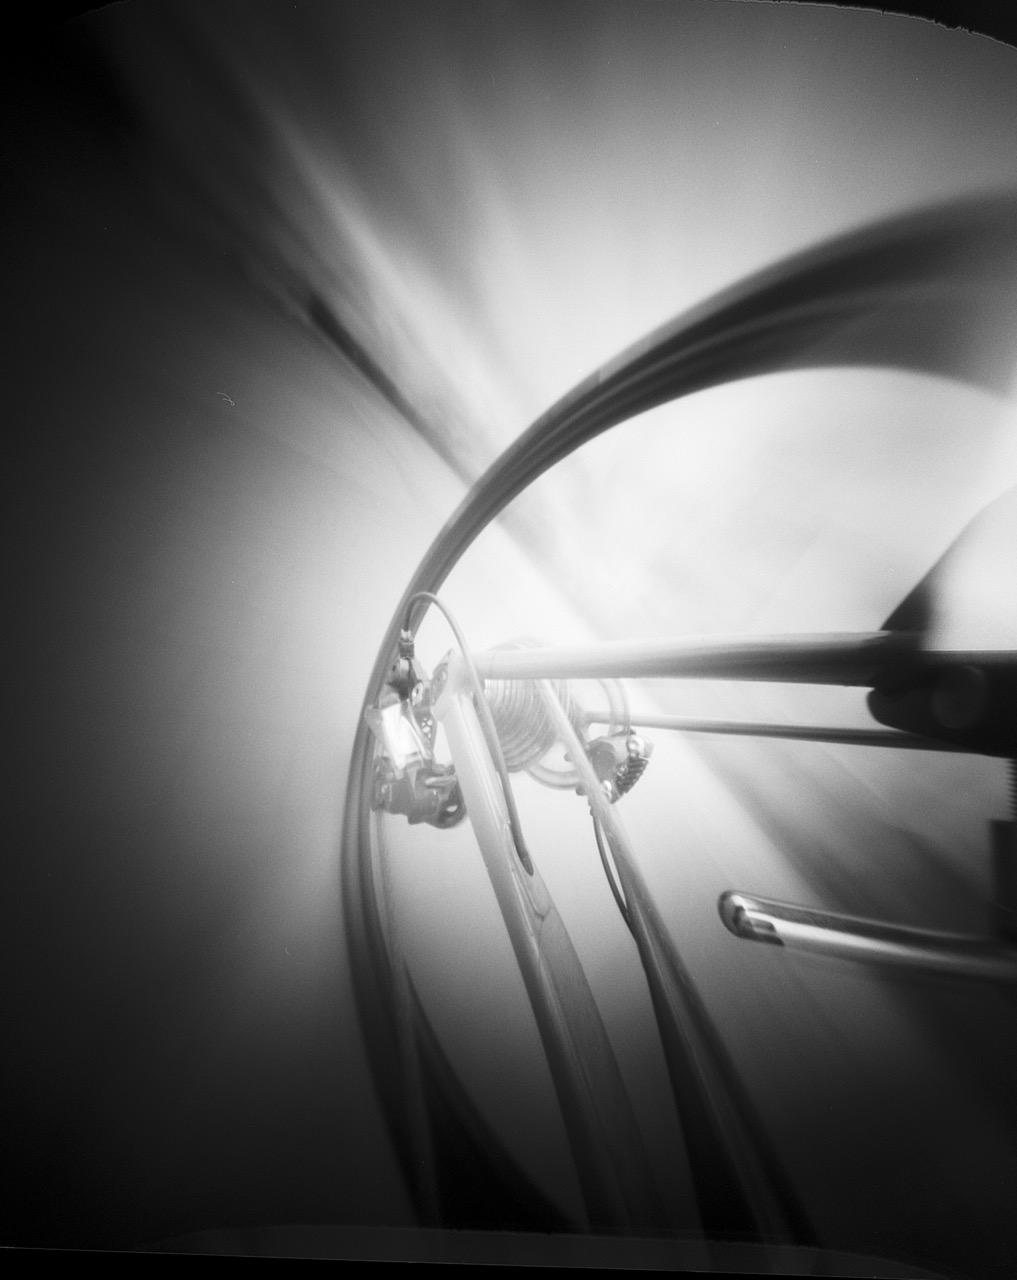 MIA 6×6 10mm FL
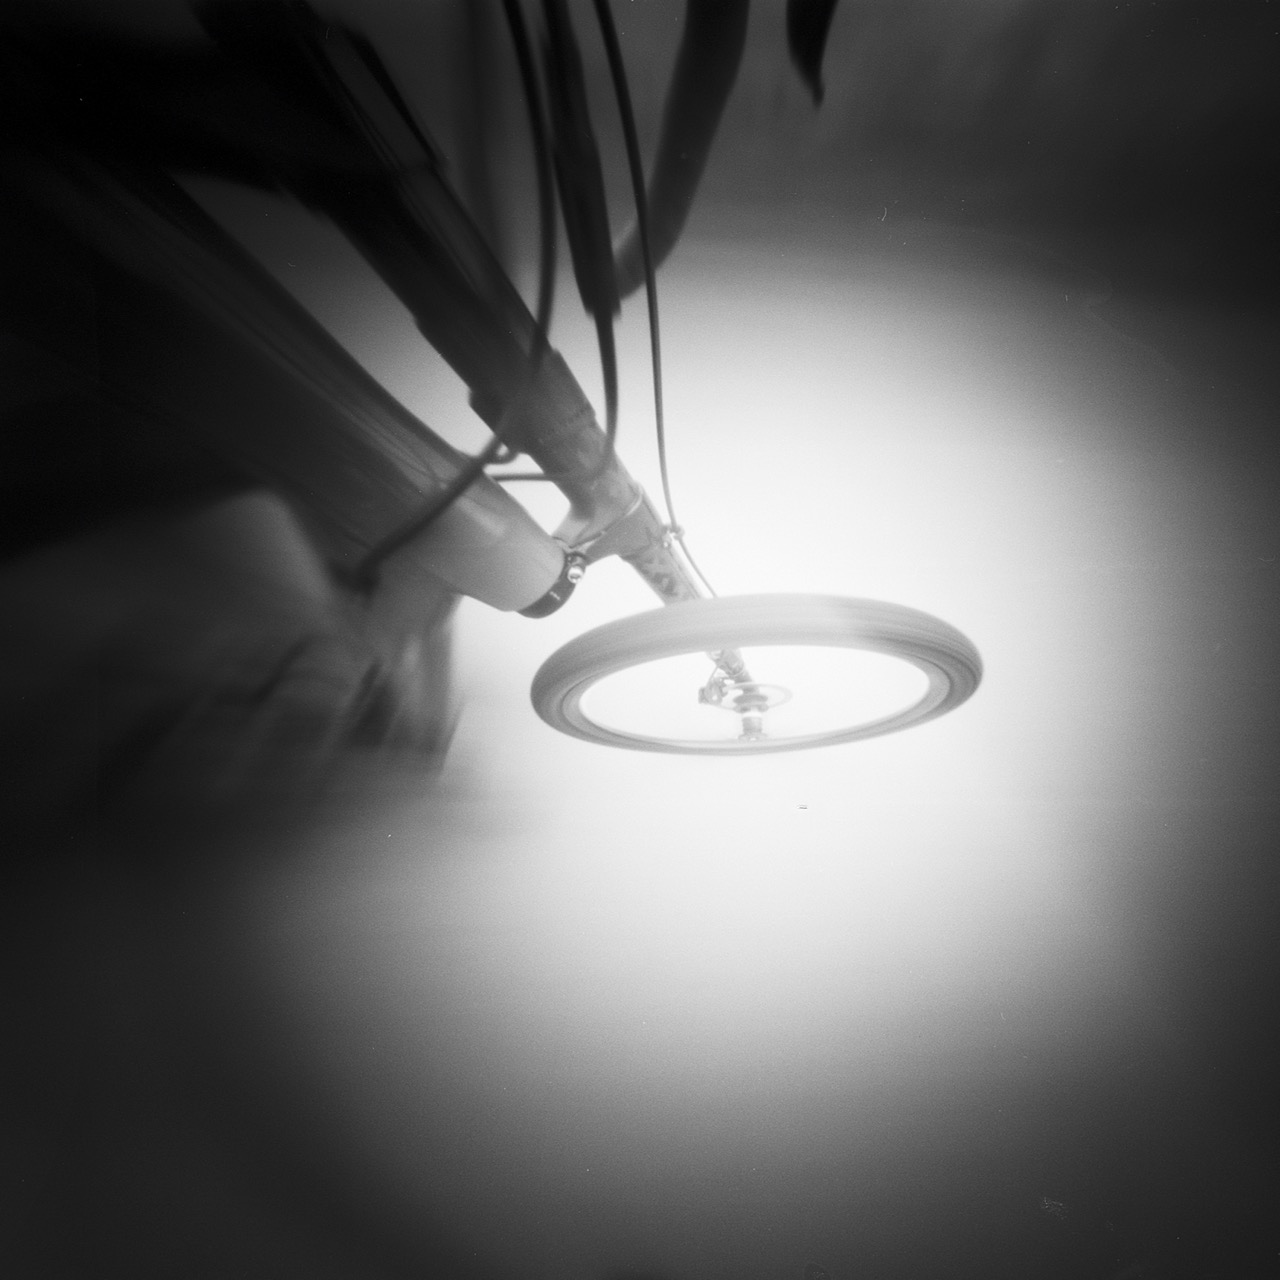 MIA 6×6 10mm FL
 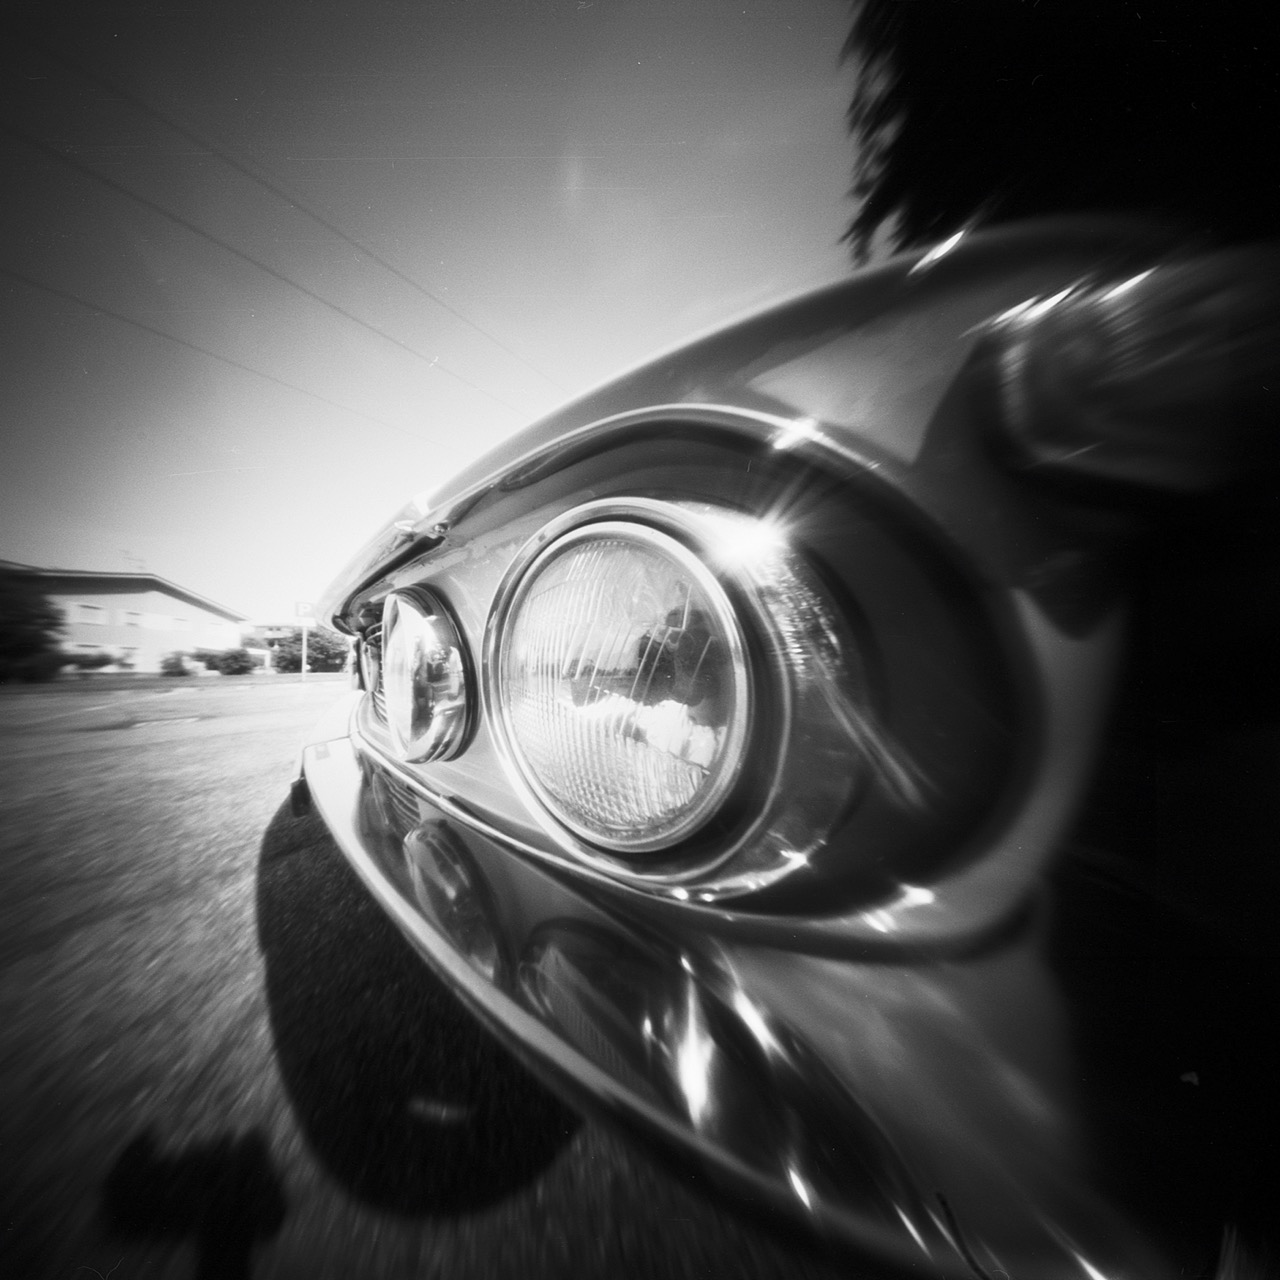 MIA 6×6 10mm FL
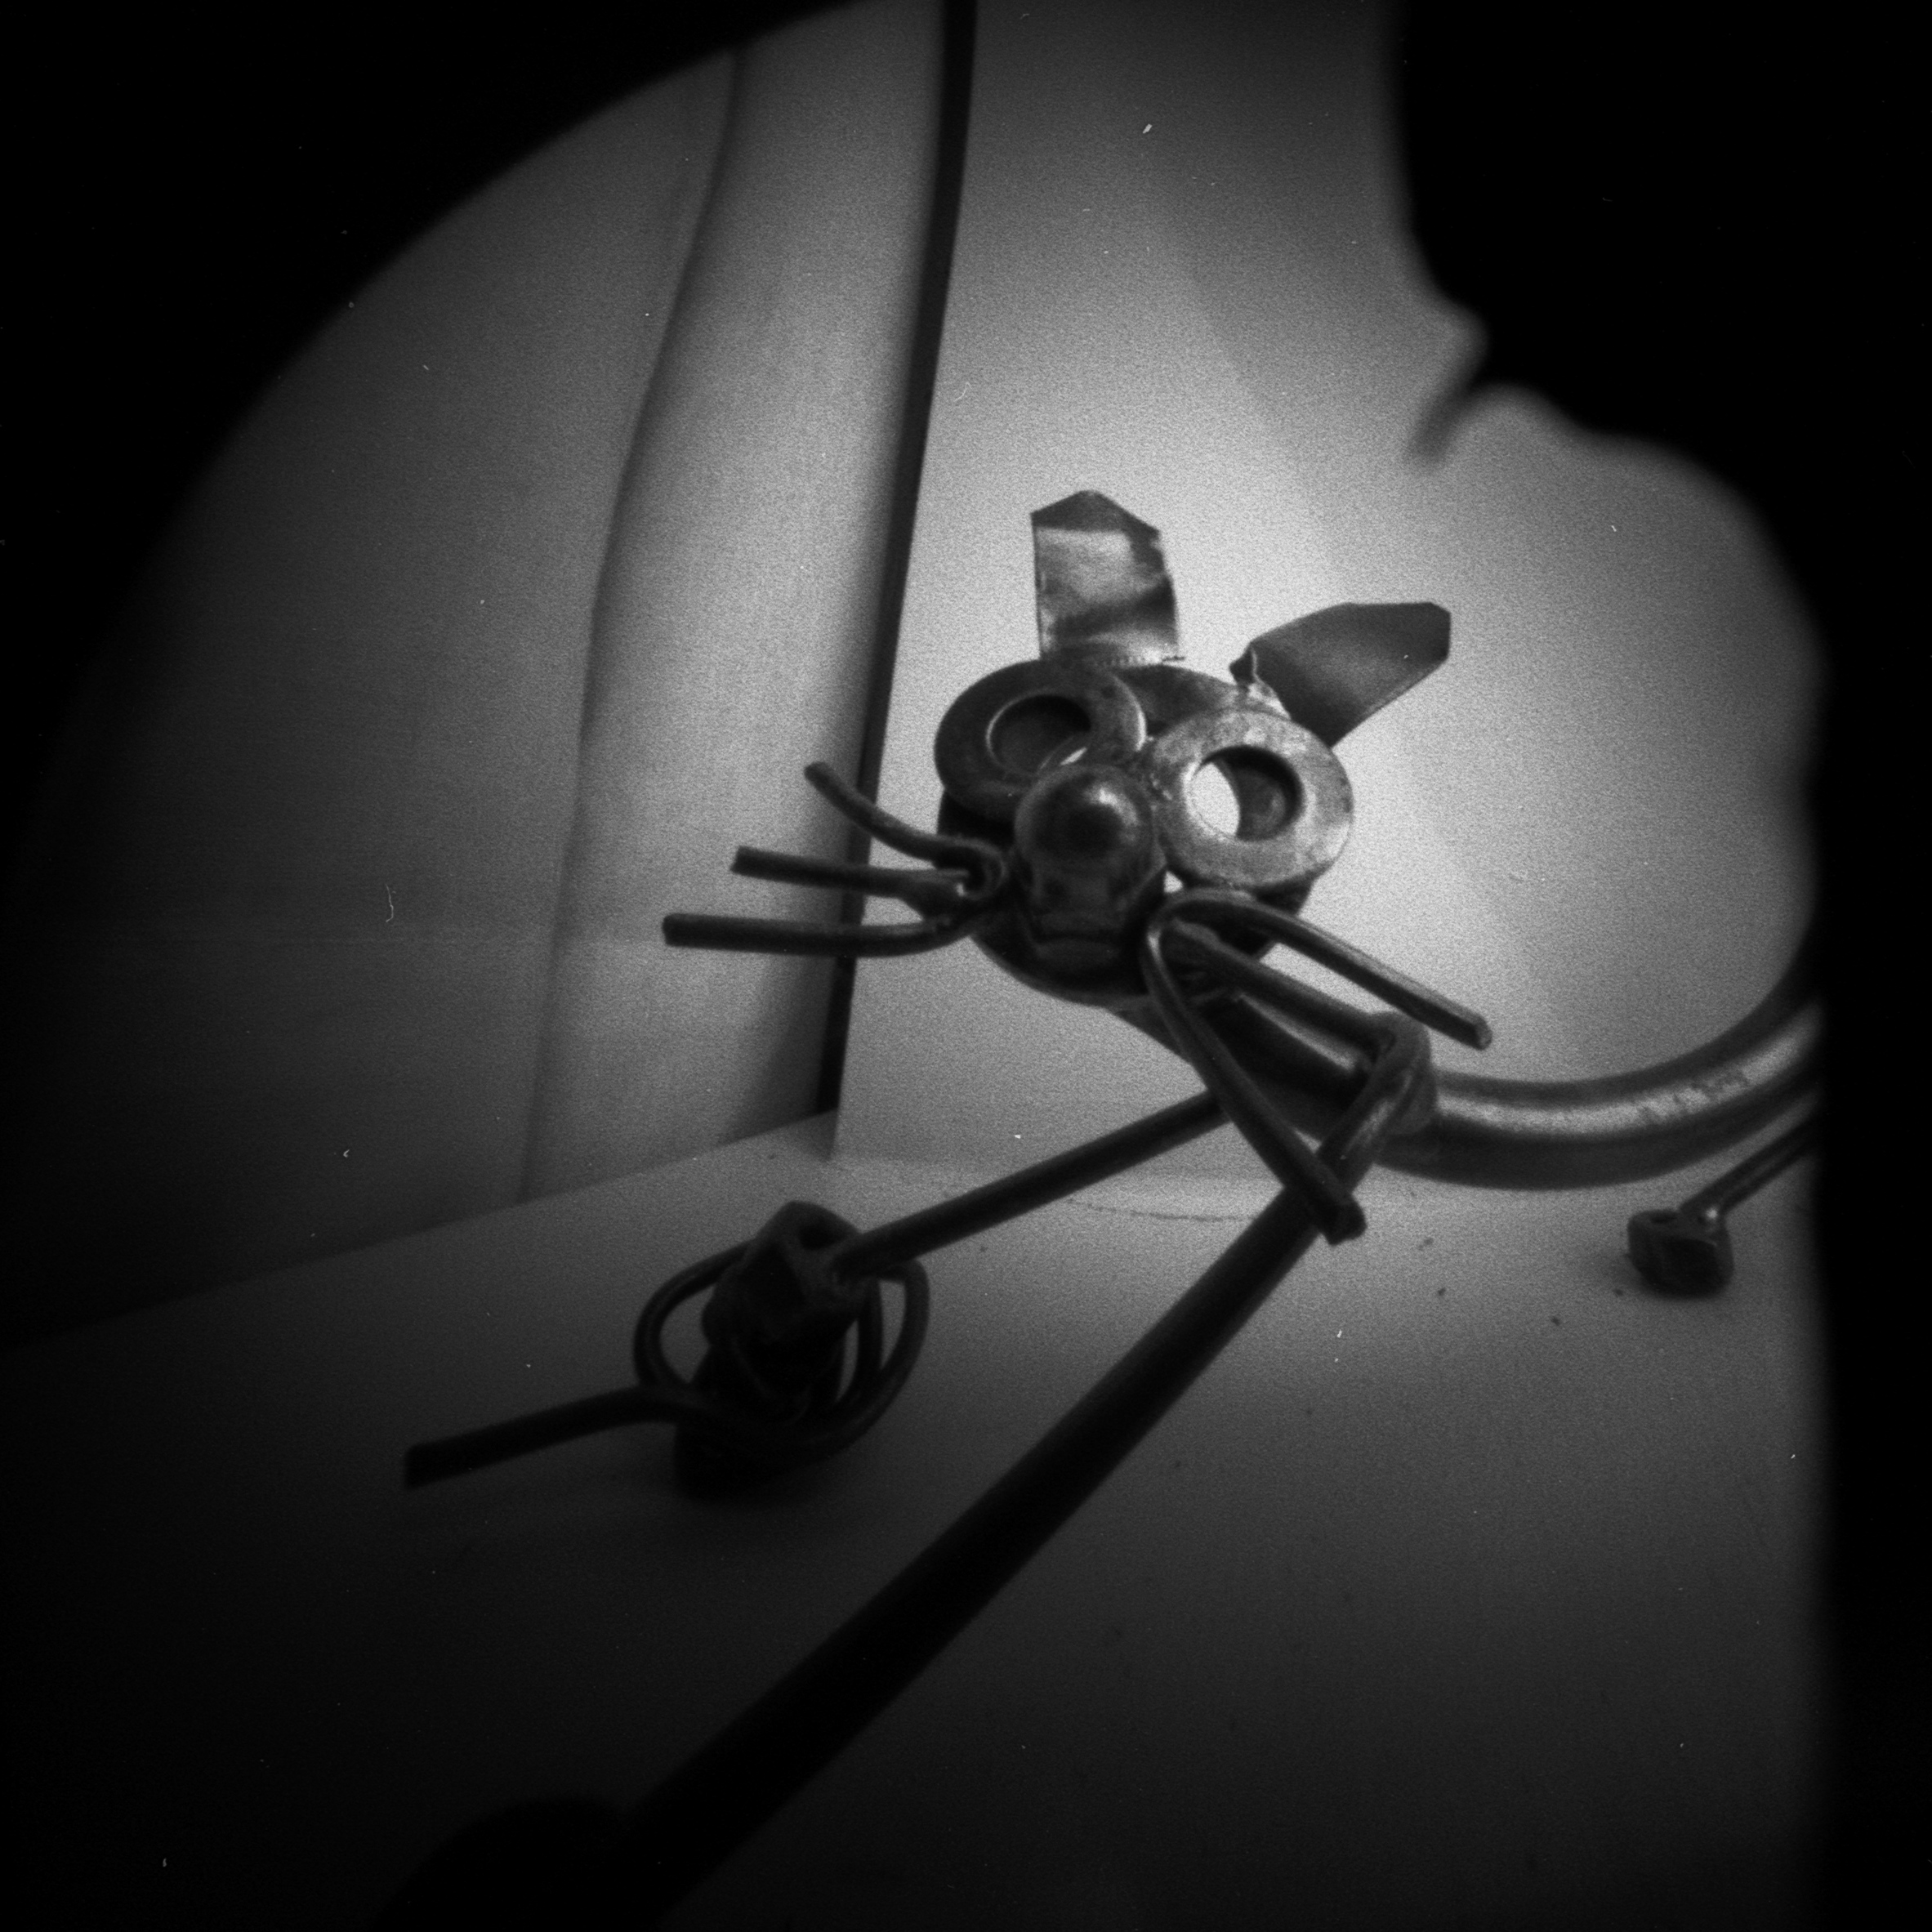 With a prototype camera